I won’t lie. I’m a total Christmas junkie. Christmas trees, Christmas garland, Christmas traditions. Anything Christmas…be still my heart. It’s the most magical time of the year and always had wonderful memories of the holidays as a child. Since I love Christmas so much we have 4 full-sized trees in our home and 2 smaller ones in my kids’ rooms. Yep. You read that right. 6 trees. And to my husband’s dismay, I listen to Christmas music all day everyday from the day after Thanksgiving to the day after Christmas. Yep. I love Christmas.
So, as you can imagine I’m more than thrilled to share some Christmas tree ideas and inspiration with you. At the end of this post I’ve even got a “how-to” guide to add ribbon to your tree like a pro. Are you ready to jump in?
Themed Christmas tree ideas
I personally love themed trees. They look so pretty whether they’re fun and whimsical or regal and elegant. The colors all flow and match. Three of our Christmas trees are themed. We have a large red and green tree in our 2-story foyer, a 9 foot tree that’s all champagne and neutral, and a 7 foot flocked tree with all spa blue decorations. Our fourth tree is our family tree with all our handmade decorations and fun colors.
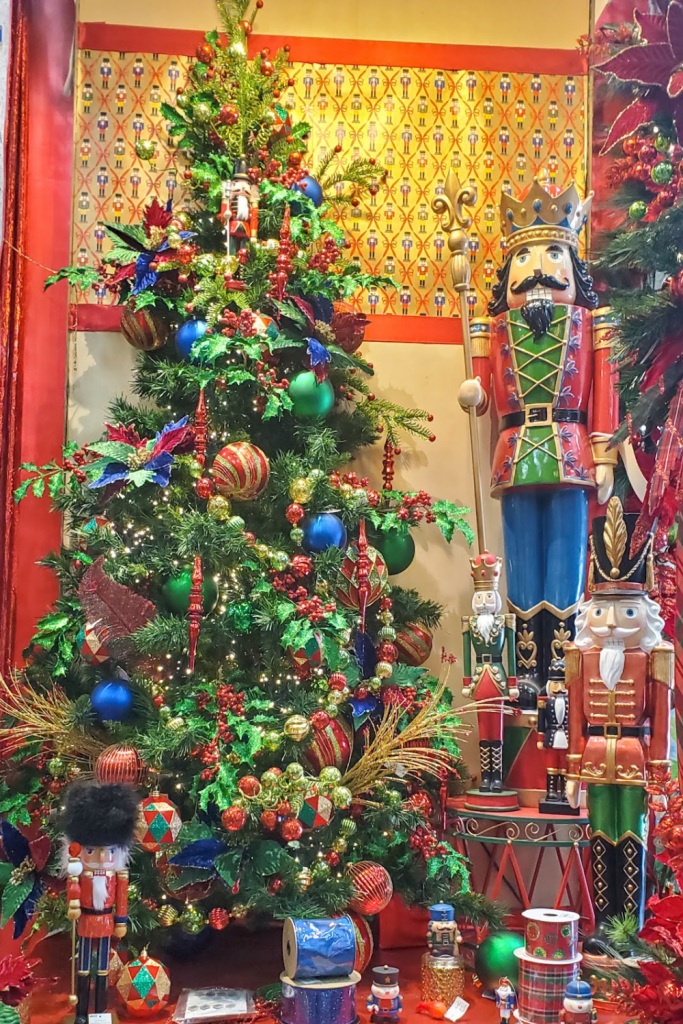
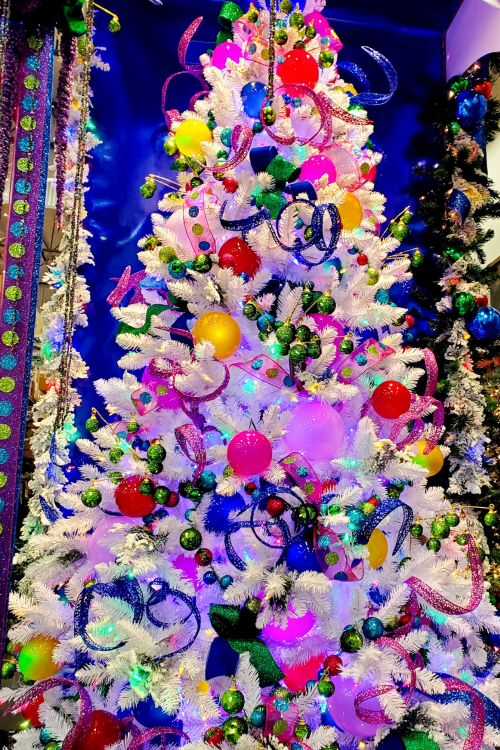
Check out some of these gorgeous themed Christmas tree ideas.
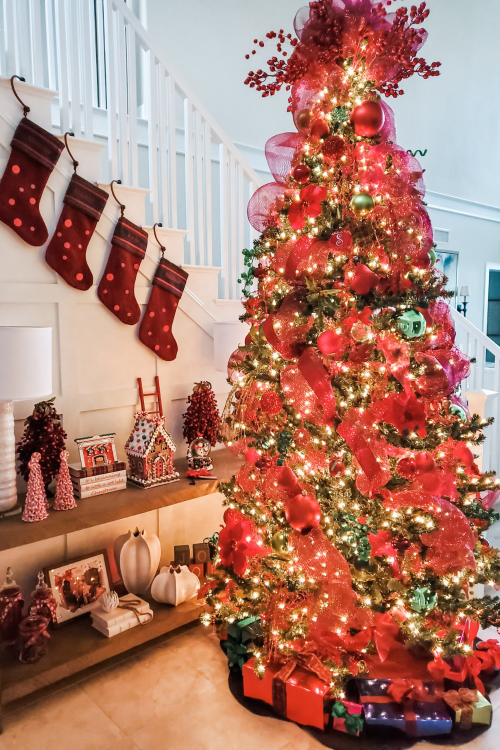
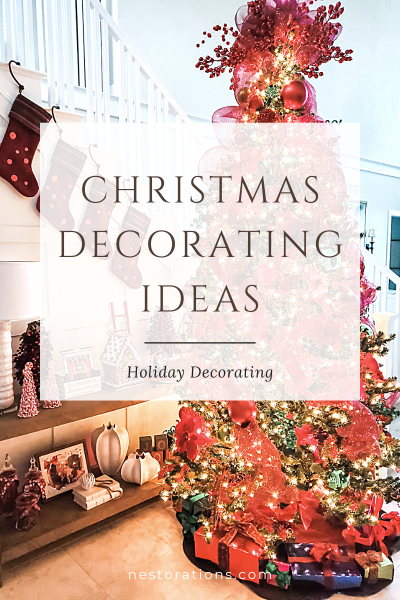
This is my own foyer tree. It’s 10′ tall and everything on the tree is red or green. I added faux presents underneath to fill the empty space and make it look more festive.
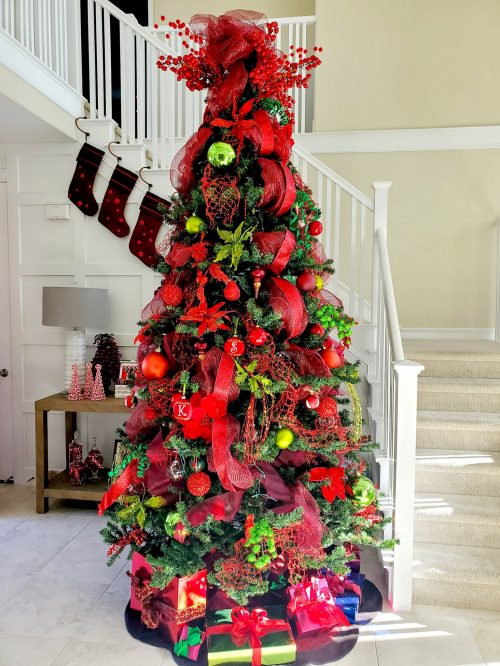
My foyer tree without lights.
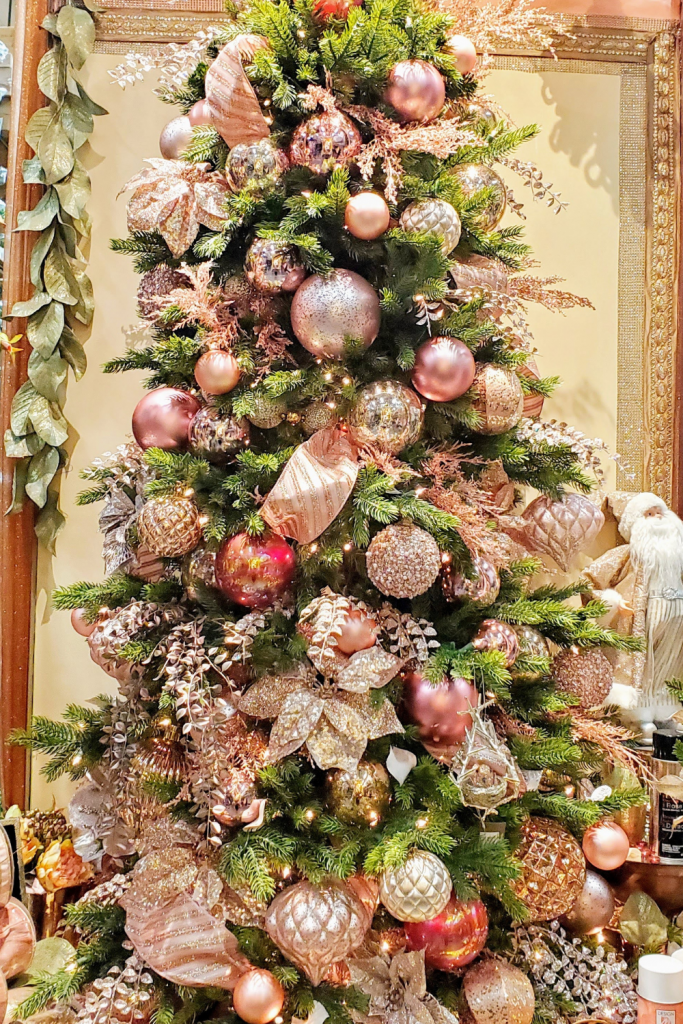
Champagne and pink tree
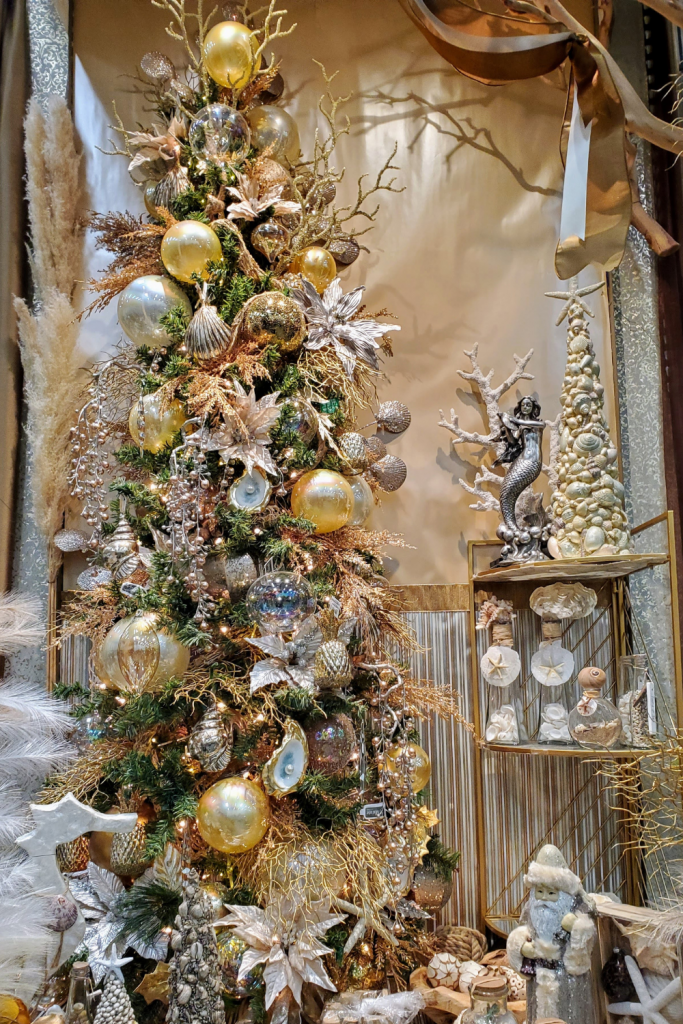
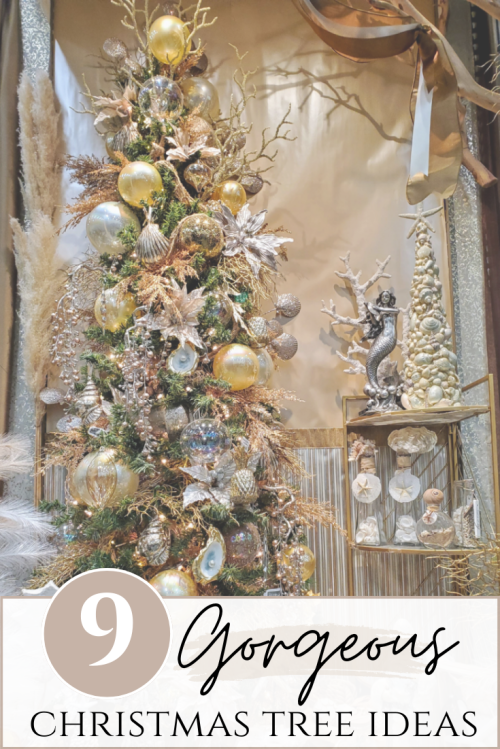
Golden seashell tree
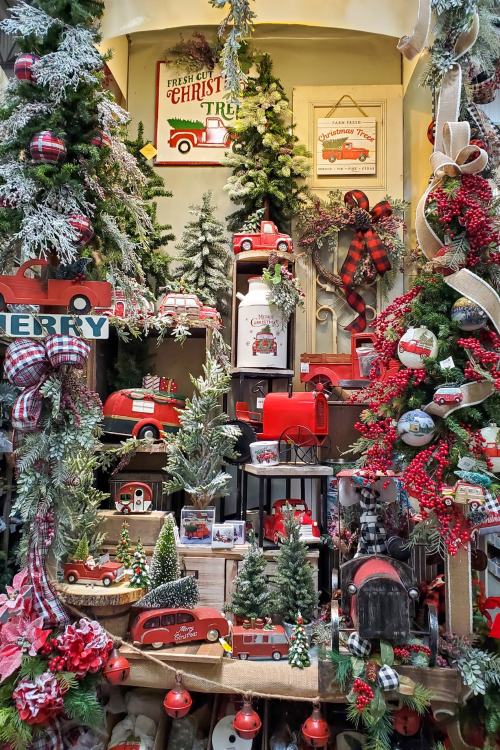
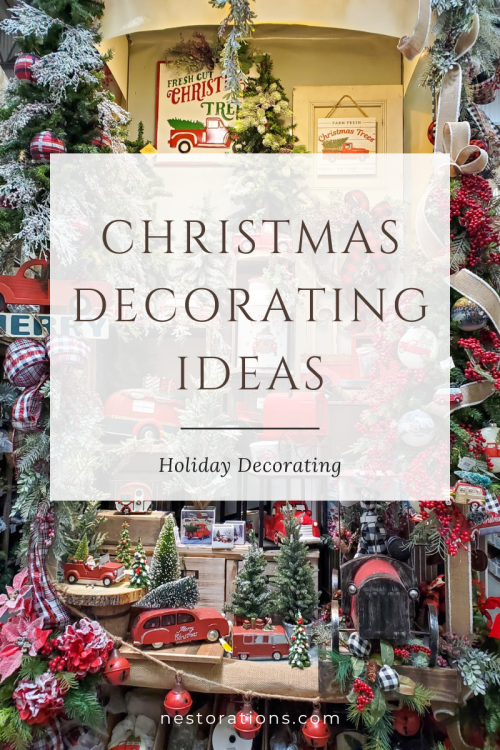
Look at all the red truck decor!
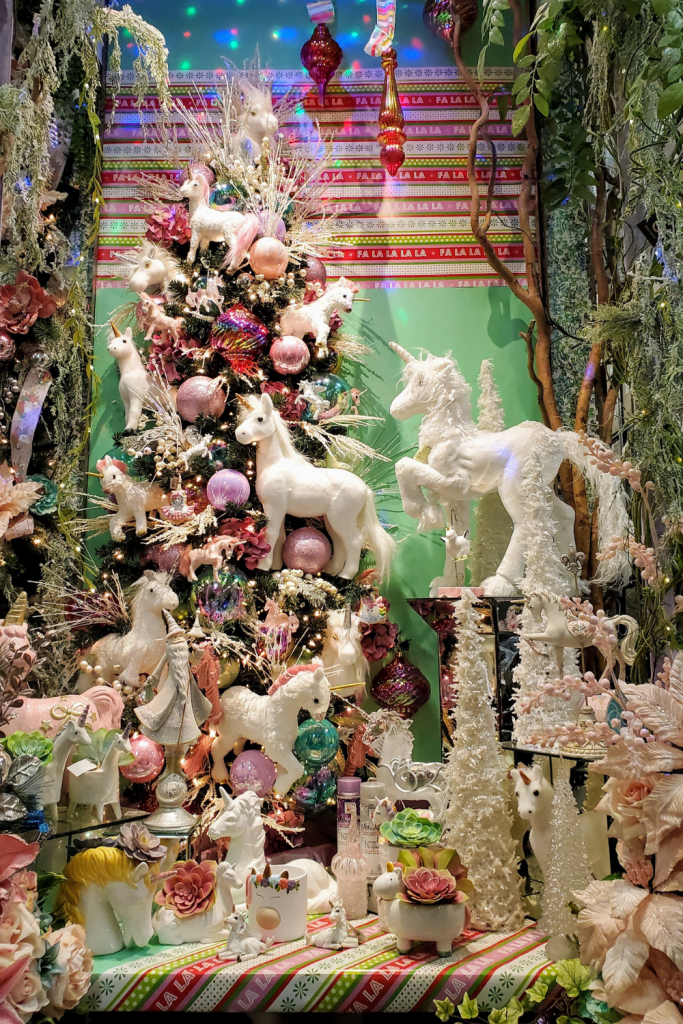
Flocked Christmas trees
Maybe I love flocked trees because we don’t get those picture-perfect snowy scenes here in San Diego like I grew up with in New England. FYI…If you’re considering getting a flocked tree just beware that they shed. So if you’re a neat freak then flocked might not be your friend.
See some gorgeous flocked trees below.
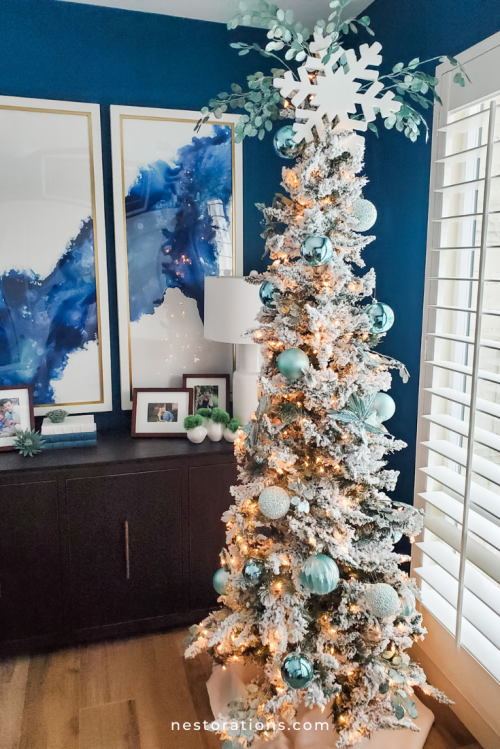
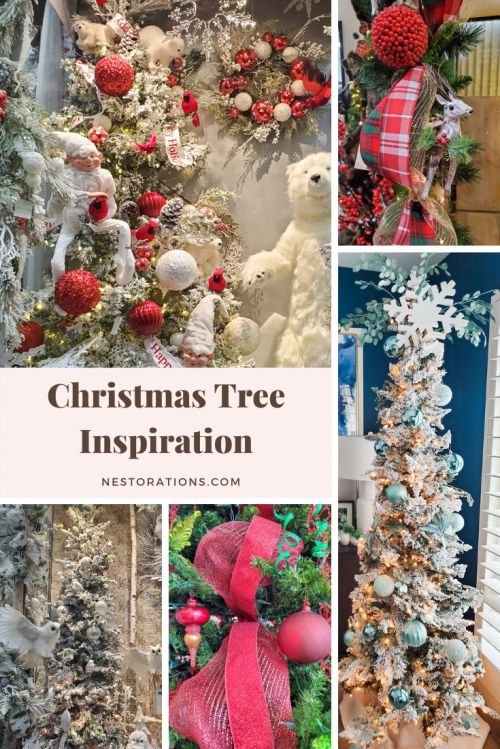
This blue and white flocked tree is in my husband’s office. He didn’t plan on having one in there but I told him that we had to since it’s the only room with windows that face the front of the house.
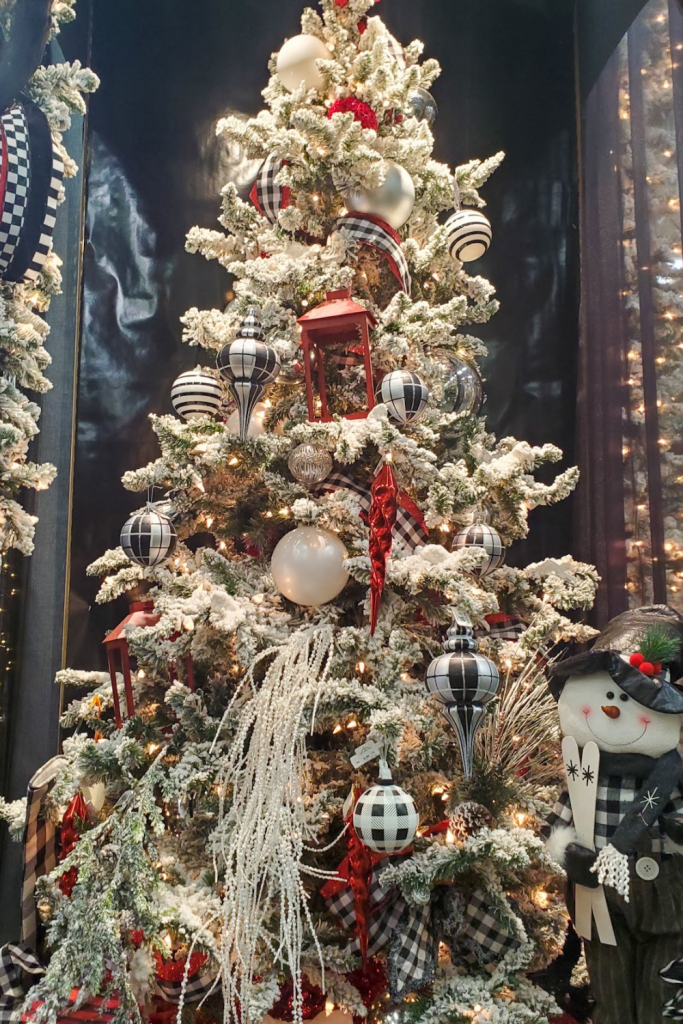
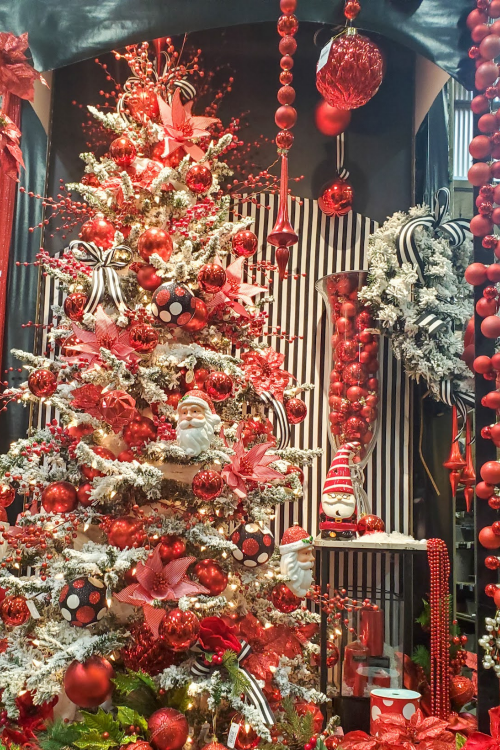
Red, white and black themed Christmas tree.
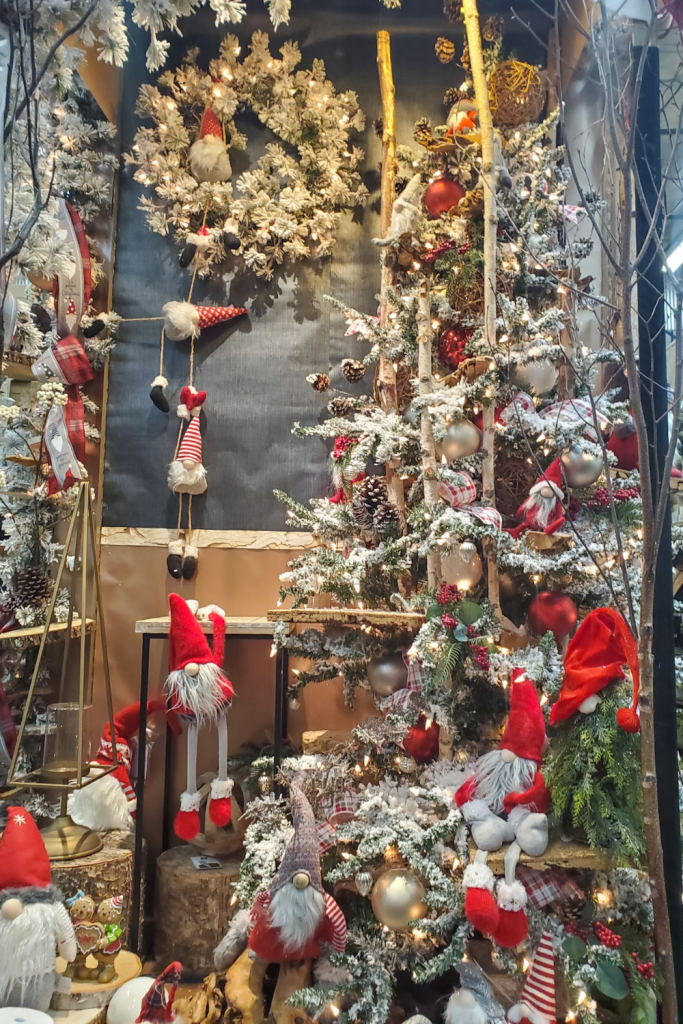
Little gnome tree
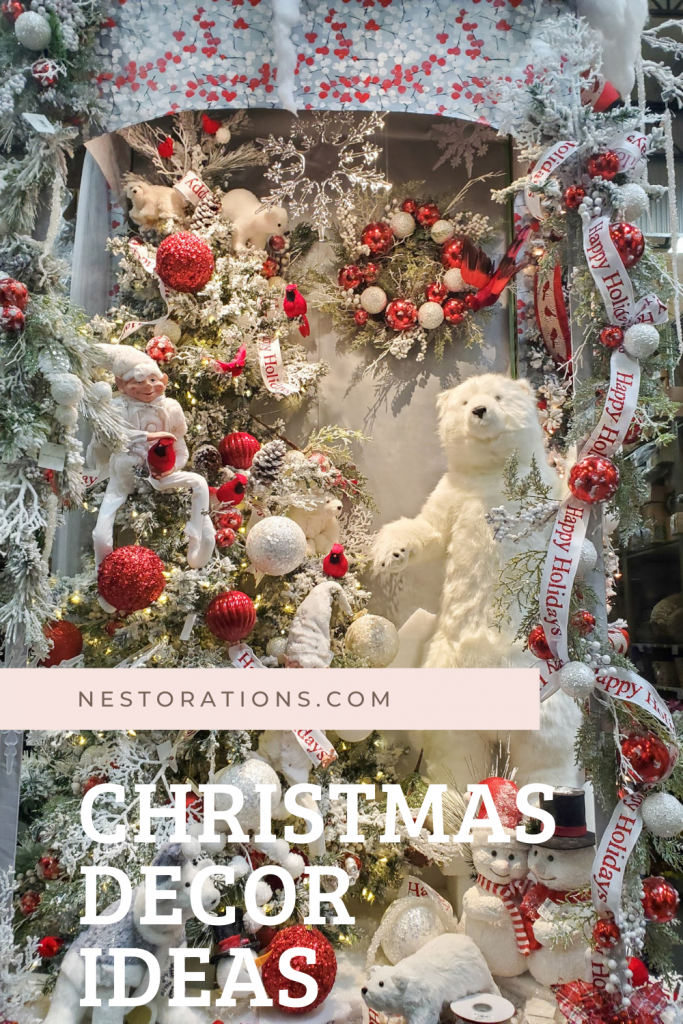
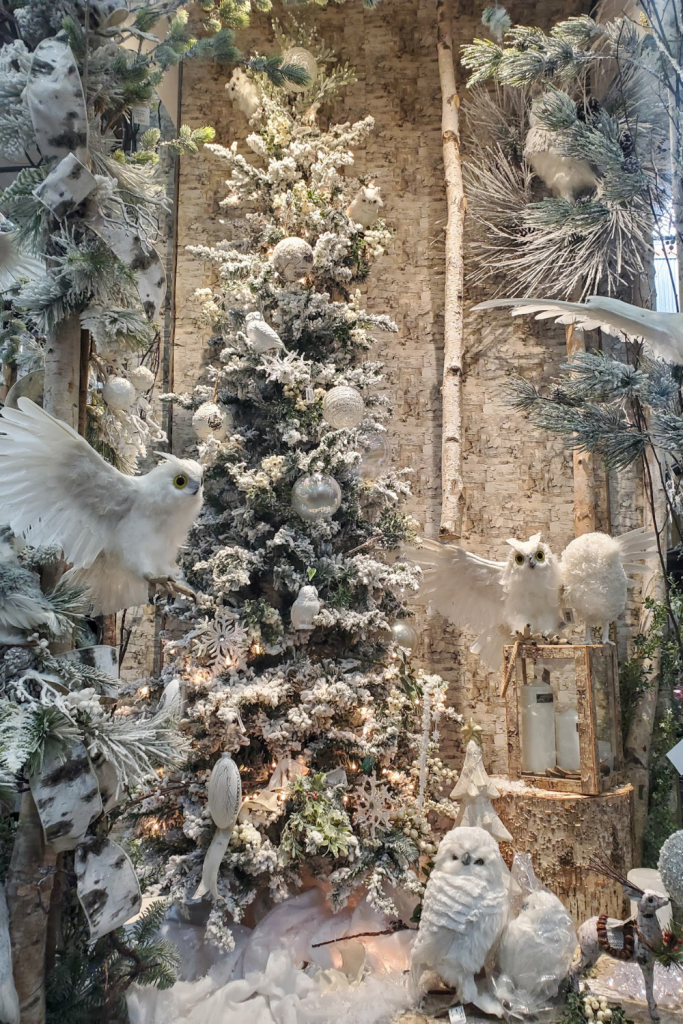
Winter wonderland tree
Okay….so how gorgeous were these trees??? My local wholesale floral supplier, Shinoda Design Center, creates these tree displays every year. As you can imagine, shopping their warehouse is one of my most favorite things to do as the holiday approaches. FYI-In case you’re local and want to go, it’s not open to the public. It’s trade only so you have to have a business to shop there unless your designer brings you.
How to add ribbon to your Christmas tree like a pro
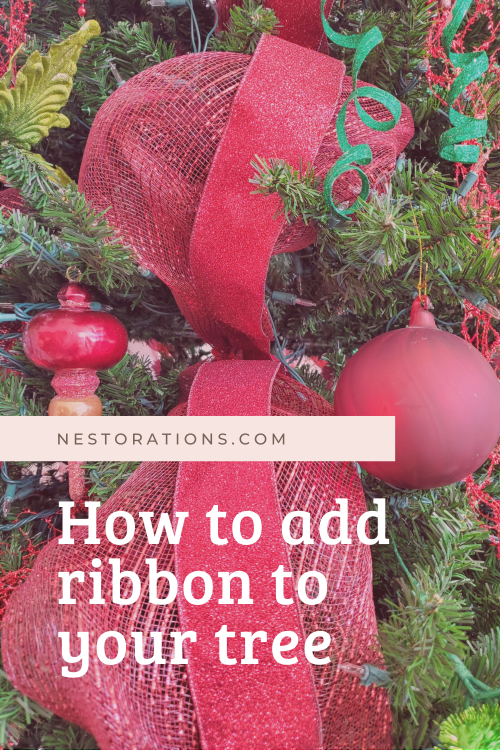
Have you tried to add ribbon to your tree and it didn’t turn out like that magazine or Pinterest picture? I get it. But with a few tricks you’ll know how to add it easily. See my tips here:
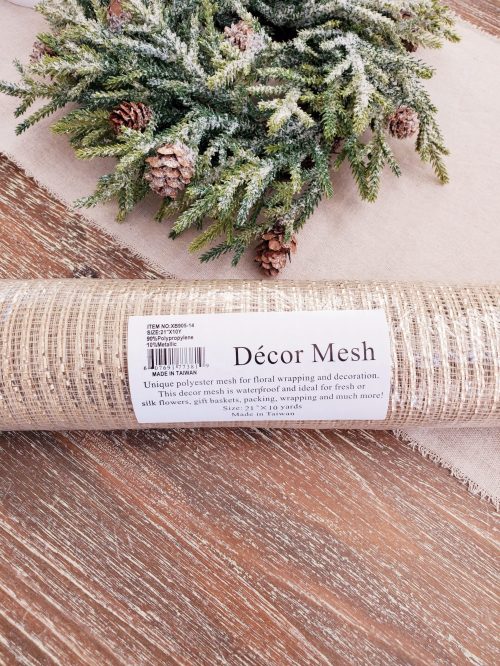
- Buy a wide ribbon or it will look too small on your tree. Aim for at least 6” wide. This is especially true if you have a tree over 7 feet. An inexpensive option to use instead of ribbon is Deco Mesh. You buy it by the roll. I get it from my floral supply company although you can get it on Amazon or online craft supply stores. It comes in different widths from 8″-21″. A 21” wide roll is about $10-$15 dollars and it works perfectly for large trees.
- Add your ribbon randomly. I’m not a fan of having perfectly even lines of ribbon wrapped around my tree. I like it added in different areas so it looks more natural.
- Layering two ribbons on top of each other is a great option that adds a lot of depth to your tree. (see example below). Use ribbons with varying texture to make it more interesting.
- Wired ribbons hold their shape well and can be easier to work with.
Steps to add ribbon to your Christmas tree
You’ll want to add ribbon before any ornaments since you’ll need open space and ornaments will just get in your way. So once you’ve added your tree lights, it’s time for ribbon.
If you’re using a wide ribbon or deco mesh you’ll need some pipe cleaners/chenille sticks. I buy chenille sticks to match the ribbon color I’m using.
- Pinch the end of the ribbon/mesh and tie with the chenille stick. I twist the chenille stick multiple times and wrap the loose ends around themselves. (see image below)
- Measure about 15”-24” and pinch the ribbon and tie with another chenille stick.
- Do this until you create a 6 foot stretch of pinched ribbon. You can also make smaller sections to fill your tree in different areas. (see image below)
- Take the end of your pinched ribbon and tuck it into your tree. I start close to the top and shove it in there. Then I take the next pinched area and tuck that into the tree about a foot down or to the side. Keep tucking the pinched areas into your tree until you’ve put all the pinched areas in the tree. (You can see how I did this on my red and natural tree.)
- Add your smaller sections of ribbon/mesh to fill in your tree.
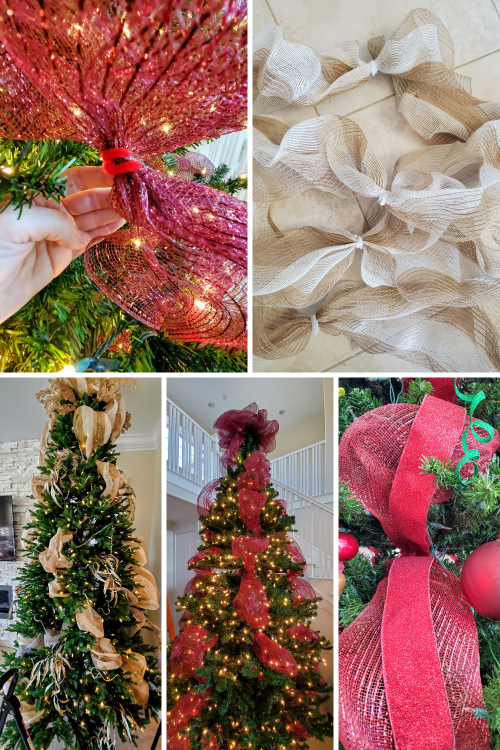
If you’re using two layers of ribbon you can either pinch them together with the chenille sticks at the same time or you can add the second ribbon layer after. I added mine after. If you use wire ribbon it holds well without tying them together. See the image above. That glittered red ribbon is just placed on top of the deco mesh.
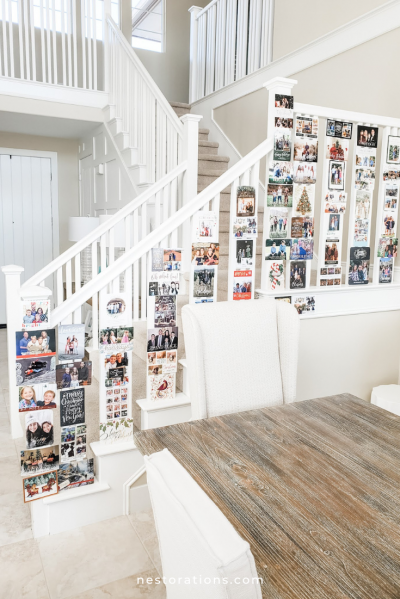
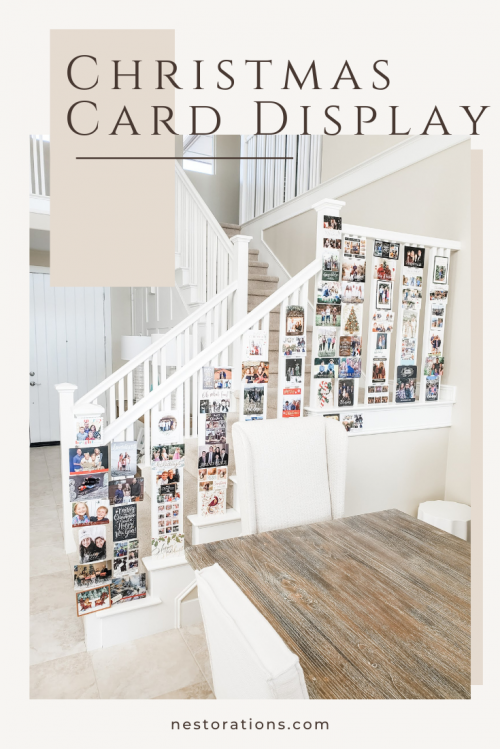
While we’re talking about Christmas, don’t forget about those holiday cards. I love to see them the whole holiday season so I display them on our stair railings. Just add a little tape the back and they become a part of your holiday decor.
Conclusion-Final thoughts…
I’d love to hear what you think? What’s your favorite tree? Leave a comment and let me know!
And if you’d like more help decorating your tree reach out to me on my contact page. I’ve helped clients decorate in the past and many designers offer this service to clients who want professional help decorating their trees.
